Unwanted spam emails can clutter your inbox and potentially pose security risks, such as phishing attempts or malware. To help manage this, cPanel includes built-in spam filtering tools that allow you to control how your email account handles incoming messages. With a few configuration steps, you can reduce spam while ensuring legitimate emails are delivered.
Managing Spam Filters in cPanel
1. Log in to cPanel
-
Open your browser and go to your cPanel login page (e.g., mydomain.com/cpanel).
-
Enter your cPanel username and password.
-
Click Log in.
2. Open the Spam Filters Tool
-
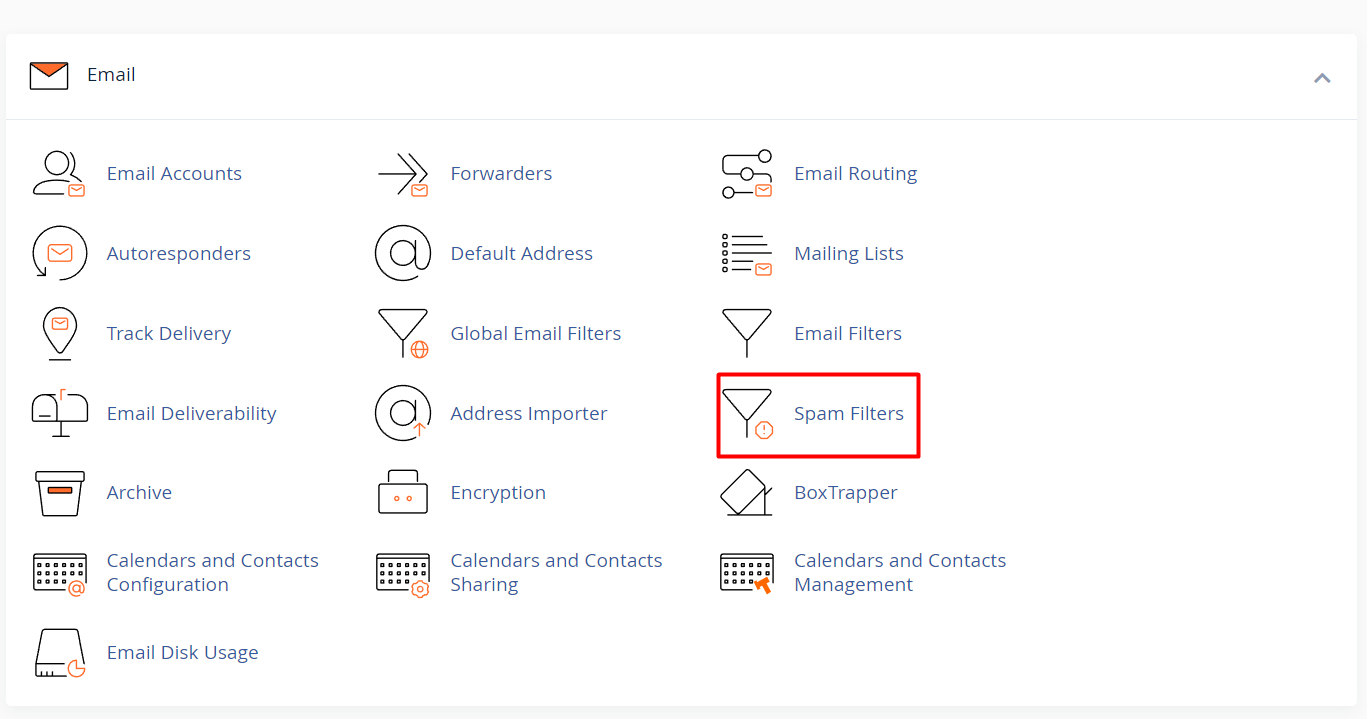
In the cPanel dashboard, scroll down to the Email section.
-
Click on Spam Filters.
3. Enable or Disable Spam Filtering
-
On the Spam Filters page, locate the setting Process New Emails and Mark Them as Spam.
-
If this setting is off, click the switch to enable spam filtering.
-
You can disable filtering anytime by switching it off again.
4. Adjust the Spam Threshold Score
-
Find the option Spam Threshold Score.
-
This value determines how aggressively emails are filtered:
-
Lower score = stricter (more emails flagged as spam).
-
Higher score = less strict (fewer emails flagged).
-
-
Click Configure Spam Threshold Score, then choose a value that matches your preferences.
-
The default score is usually 5.
-

5. Enable Auto-Delete for Spam (Optional)
-
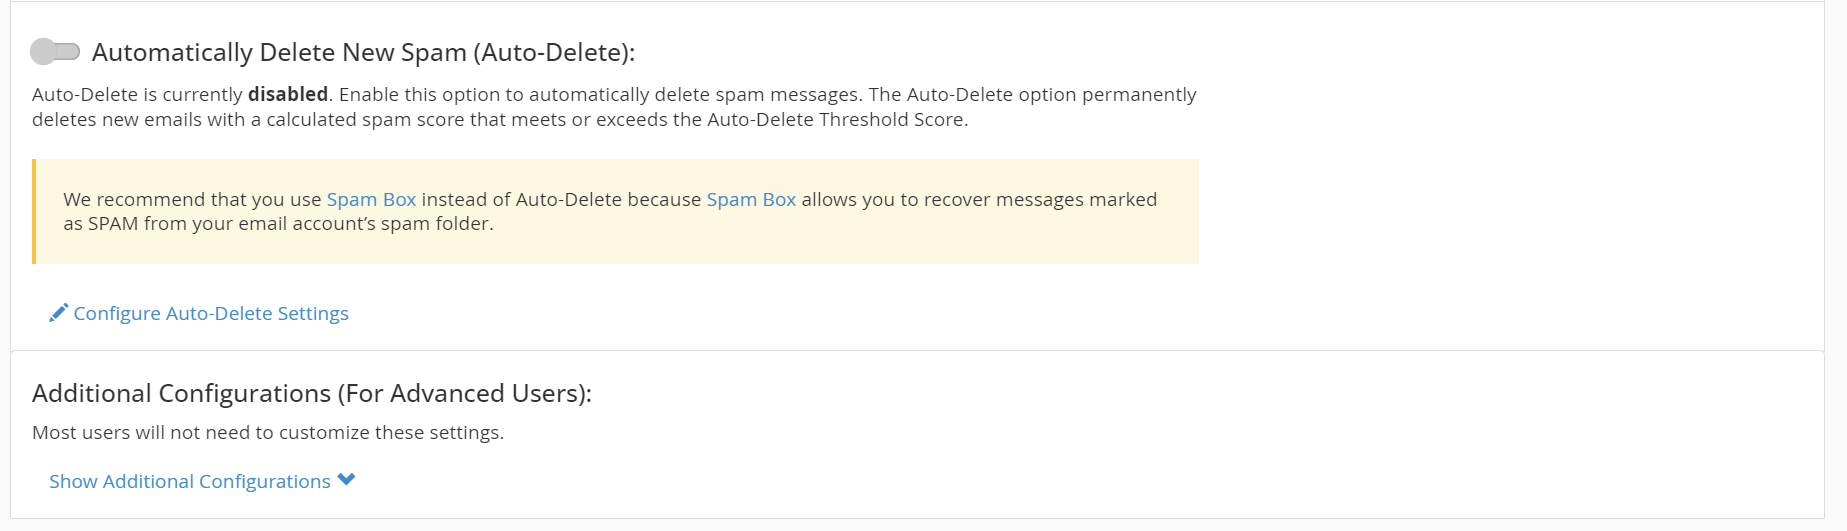
If you want spam emails to be deleted automatically, turn on Automatically Delete New Spam (Auto-Delete).
-
Note: enabling this will delete spam emails immediately without placing them in a junk or spam folder.
6. Whitelist or Blacklist Senders
-
Scroll down to the Additional Configurations (For Advanced Users) section.
-
Here, you can manage:
-
Whitelist (Allowed Senders): Emails from these addresses or domains will never be marked as spam.
-
Blacklist (Blocked Senders): Emails from these addresses or domains will always be rejected as spam.
-
-
Click Edit Spam Whitelist Settings or Edit Spam Blacklist Settings, enter the address or domain, and click Add.
7. Check the Spam Box
-
If Auto-Delete is not enabled, spam emails are stored in a folder called Spam Box.
-
You can check this folder via:
-
Webmail (e.g., Roundcube).
-
Your email client (e.g., Outlook or Thunderbird).
-
-
Regularly review the Spam Box in case legitimate emails were filtered by mistake.


