Mukautetut virhesivut parantavat käyttäjäkokemusta korvaamalla palvelimen oletusvirheilmoitukset sivuilla, jotka vastaavat verkkosivustosi ulkoasua ja viestintää. Esimerkiksi yleisen 404-virhesivun sijaan kävijälle voidaan näyttää oma sivu, joka sisältää brändäystä tai hyödyllisiä linkkejä. Tässä ohjeessa kerrotaan, kuinka mukautetut virhesivut määritetään cPanelin kautta.
Vaiheet mukautettujen virhesivujen määrittämiseen cPanelissa
1. Kirjaudu cPaneliin
-
Avaa selain ja siirry cPanelin kirjautumissivulle, esimerkiksi: https://omadomainisi.fi/cpanel.
-
Syötä käyttäjätunnus ja salasana.
-
Klikkaa Kirjaudu sisään.
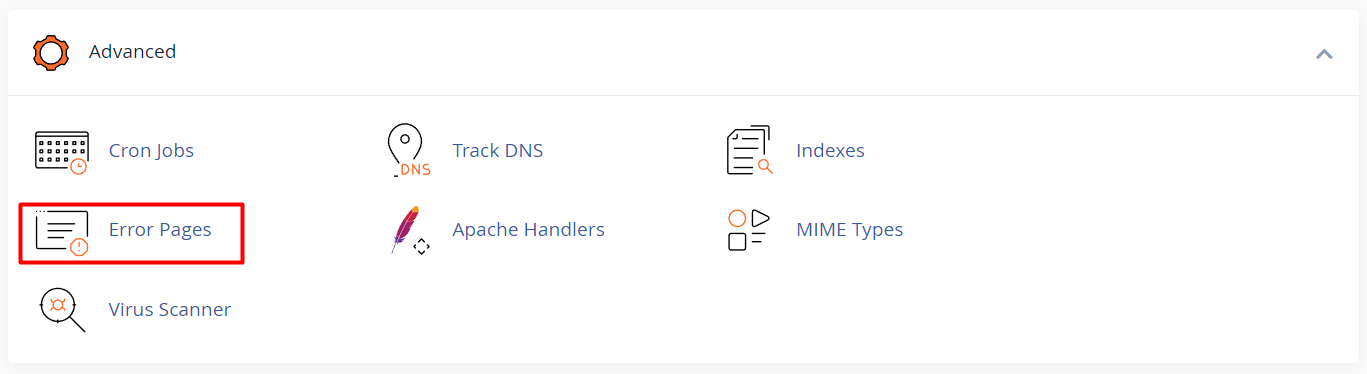
2. Avaa Error Pages -työkalu
-
Siirry alas kohtaan Advanced (Lisäasetukset).
-
Klikkaa Error Pages.
-
Jos tililläsi on useita verkkotunnuksia, valitse pudotusvalikosta se, jota haluat muokata,
3. Valitse virhekoodi
cPanel tukee mukautettuja sivuja useille yleisille virhekoodeille, kuten:
-
400 (Bad Request – Virheellinen pyyntö)
-
401 (Authorization Required – Tunnistautuminen vaaditaan)
-
403 (Forbidden – Pääsy estetty)
-
404 (Page Not Found – Sivua ei löydy)
-
500 (Internal Server Error – Palvelinvirhe)
Napsauta sen virhekoodin nimeä, jota haluat mukauttaa.
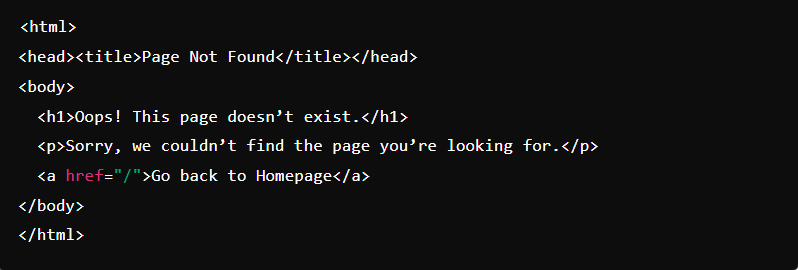
4. Luo mukautettu virhesivu
-
Valittuasi virhekoodin, editori avautuu.
-
Kirjoita HTML-sisältö, joka muodostaa mukautetun virhesivun. Voit käyttää tekstiä, linkkejä, kuvia ja muuta sisältöä, joka sopii sivustosi ulkoasuun.
-
Kun sivu on valmis, napsauta Tallenna (Save) tallentaaksesi sen.
5. Testaa mukautettu virhesivu
-
Testataksesi toimivuutta, laukaise kyseinen virhe.
-
Esimerkiksi 404-virheen voit testata yrittämällä avata olemattoman sivun verkkotunnuksellasi.
-
Tarkista, että mukautettu virhesivu latautuu oikein.


