Plugins are essential components in WordPress that add new features and functionality to your website without needing to write code. Whether you want to improve your site’s SEO, enhance security, or add custom elements, plugins make it possible to tailor your WordPress site to your needs.
Method 1. Installing Plugins from the WordPress Plugin Directory
This is the most common and easiest way to install a plugin.
Note: Before installing or activating a plugin, check if it’s compatible with your version of WordPress. This information is usually listed in the plugin description in the Plugin Directory or from the developer.
-
Log into WordPress:
- Go to your WordPress dashboard by navigating to
yourdomain.com/wp-adminand logging in with your credentials.
- Go to your WordPress dashboard by navigating to
-
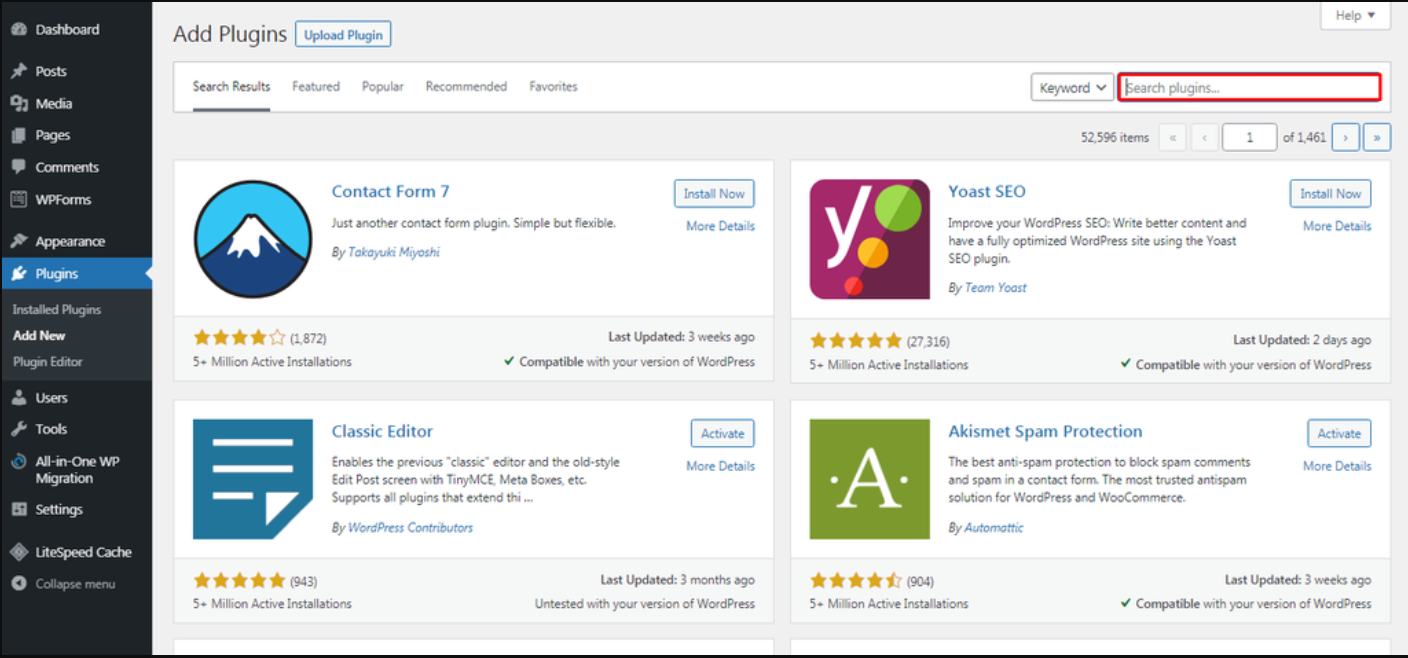
Go to the Plugin Section:
- In the left-hand sidebar of the dashboard, click on Plugins and then click Add New.
-
Search for a Plugin:
- In the search bar located at the top right, type the name of the plugin you want to install or a keyword related to the functionality you need.
-
Install the Plugin:
- Once you find the plugin you want, click the Install Now button next to the plugin’s name.
-
Activate the Plugin:
- After installation is complete, the Install Now button will change to Activate. Click Activate to start using the plugin on your site.
Method 2. Uploading a Plugin (.zip file)
This method is useful for installing plugins that are not available in the WordPress Plugin Directory, such as premium plugins.
Note: Before installing or activating a plugin, check if it’s compatible with your version of WordPress. This information is usually listed in the plugin description in the Plugin Directory or from the developer.
-
Download the Plugin:
- Download the plugin .zip file from a trusted source or the site where you purchased the plugin (e.g., premium plugin provider).
-
Go to the Plugin Section:
- Navigate to Plugins > Add New from your WordPress dashboard.
-
Upload the Plugin:
- Click the Upload Plugin button at the top of the page.
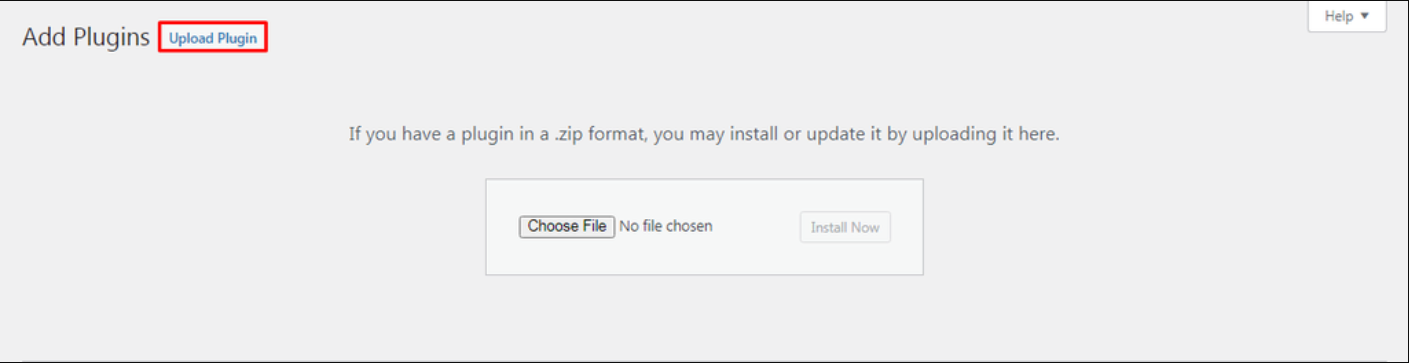
- Select the
.zipfile you downloaded, and click Install Now.
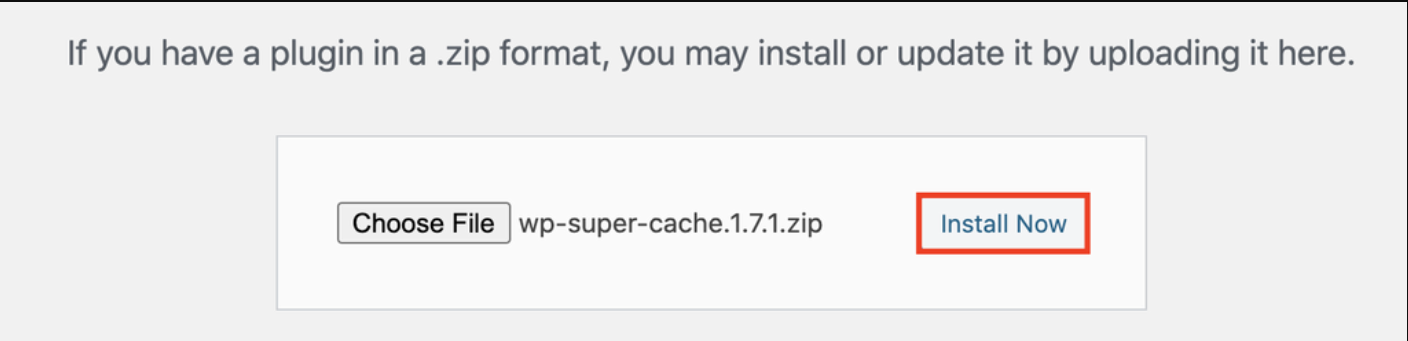
Tip: If the upload fails, check your server’s file size limit or try the manual FTP installation method described below.
-
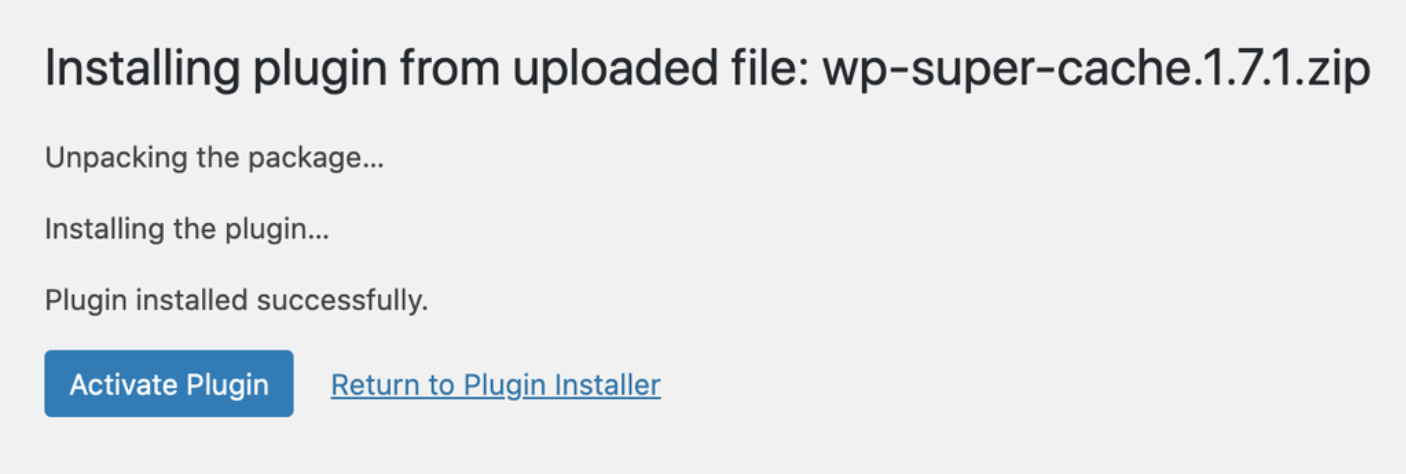
Activate the Plugin:
- After the installation, click Activate Plugin to start using it.
Method 3. Manually Installing a Plugin via FTP
If the plugin upload through the dashboard fails for some reason, you can manually install a plugin via FTP.
-
Download the Plugin:
- Download the plugin .zip file and extract it (unzipping will create a folder with the plugin name).
-
Access Your Website via FTP:
- Open an FTP client (like FileZilla) and connect to your site using your FTP credentials.
-
Upload the Plugin Files:
- Navigate to the
wp-content/plugins/directory on your server. - Upload the extracted plugin folder into this directory.
- Navigate to the
-
Activate the Plugin:
- Once the files are uploaded, go to your WordPress dashboard.
- Navigate to Plugins and locate the plugin you just uploaded. Click Activate.
Summary
WordPress offers several ways to install plugins depending on your needs and access level. Use the built-in search for free plugins, upload premium plugins manually, or use FTP for advanced installations. Always ensure your plugins are from trusted sources and kept up to date. Consider deactivating or deleting plugins you no longer use to keep your site secure and performant.


