This guide explains how to configure your email account (created in cPanel) in the Microsoft Outlook desktop application.
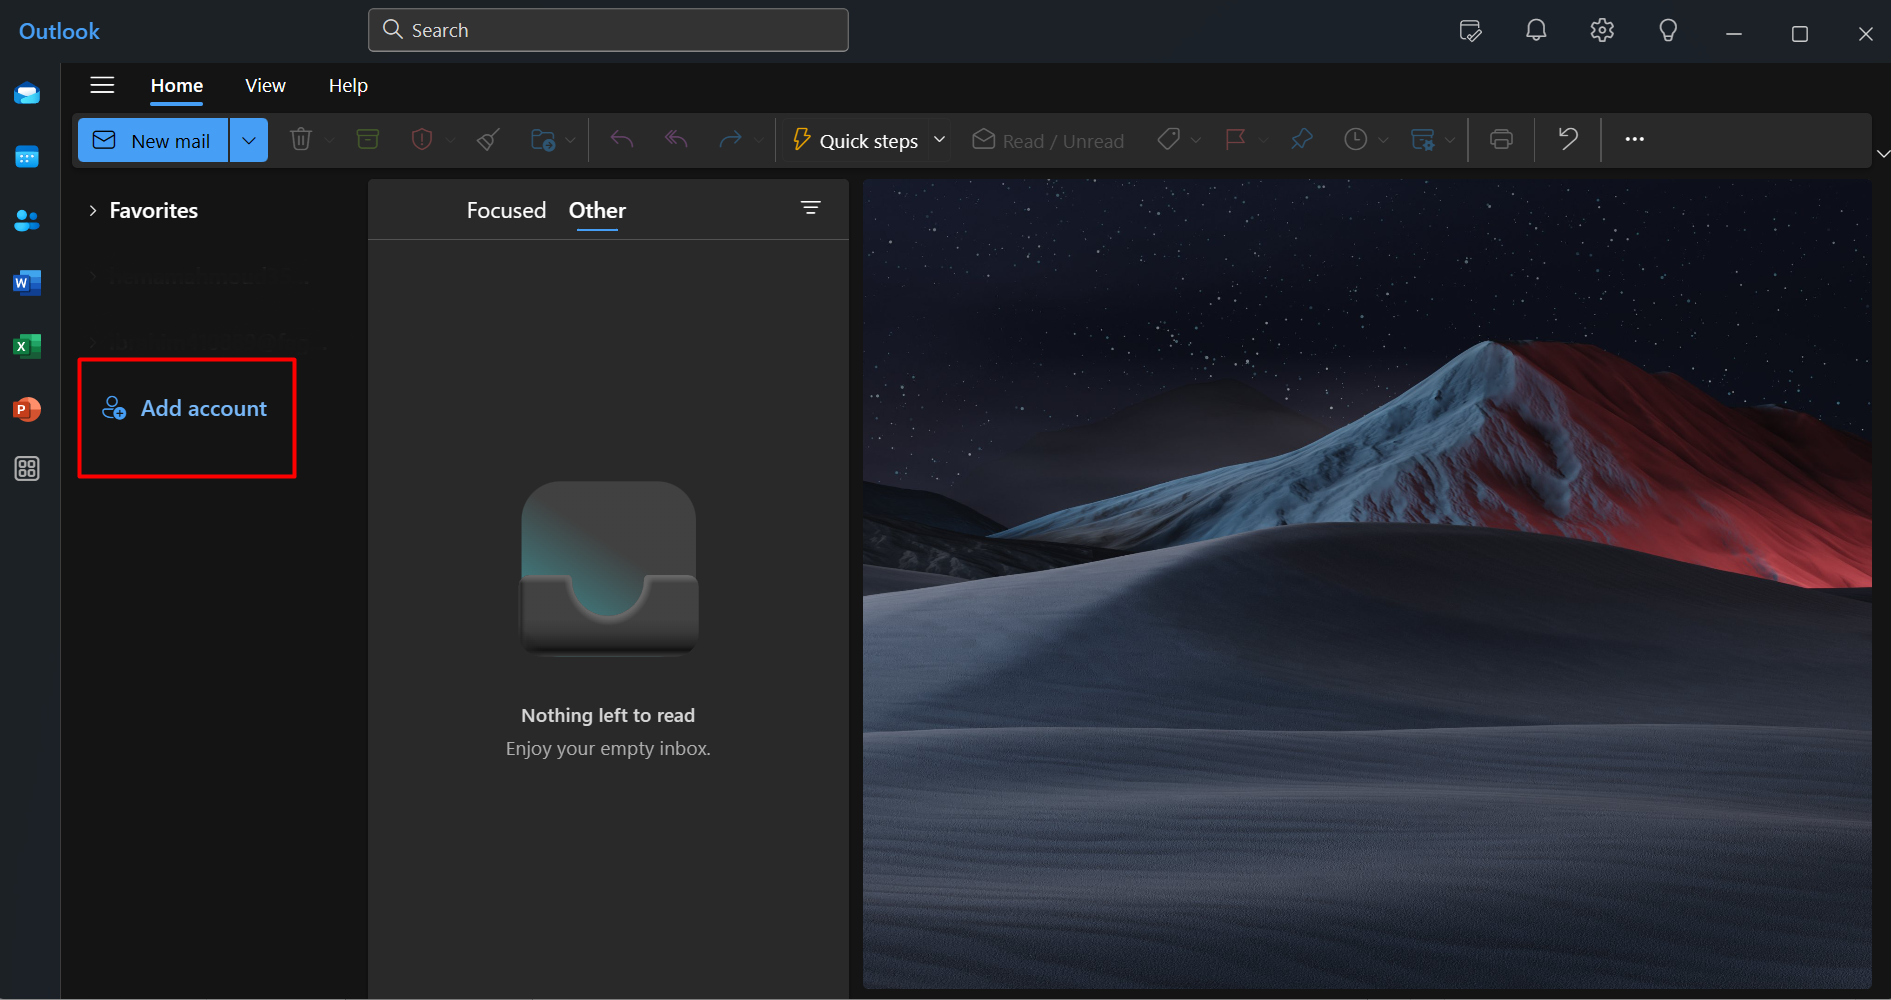
Step 1. Open Outlook
- Launch the Outlook application on your computer.
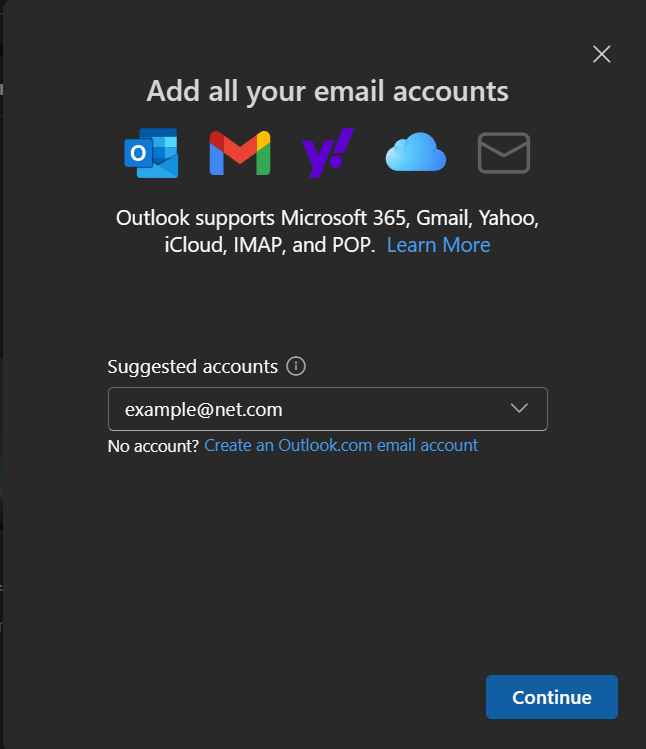
- Click Add Account when prompted.
Step 2. Retrieve Email Settings from cPanel
-
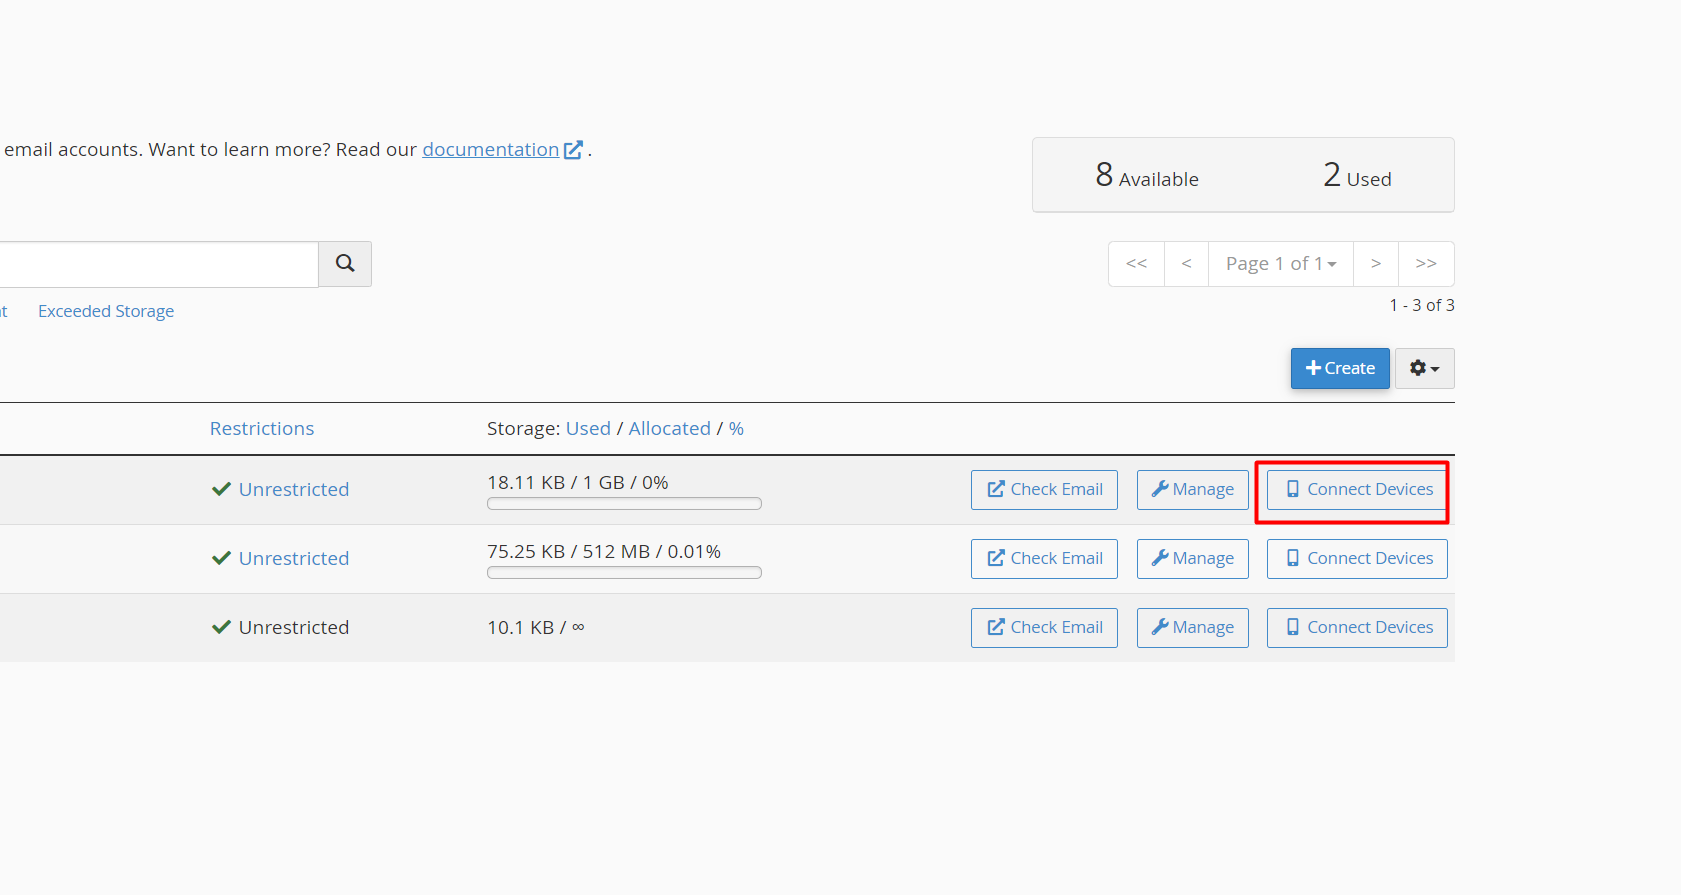
Log in to cPanel.
-
Go to Email Accounts under the Email section.
-
Next to the email address you want to set up, click Connect Devices (or Set Up Mail Client).
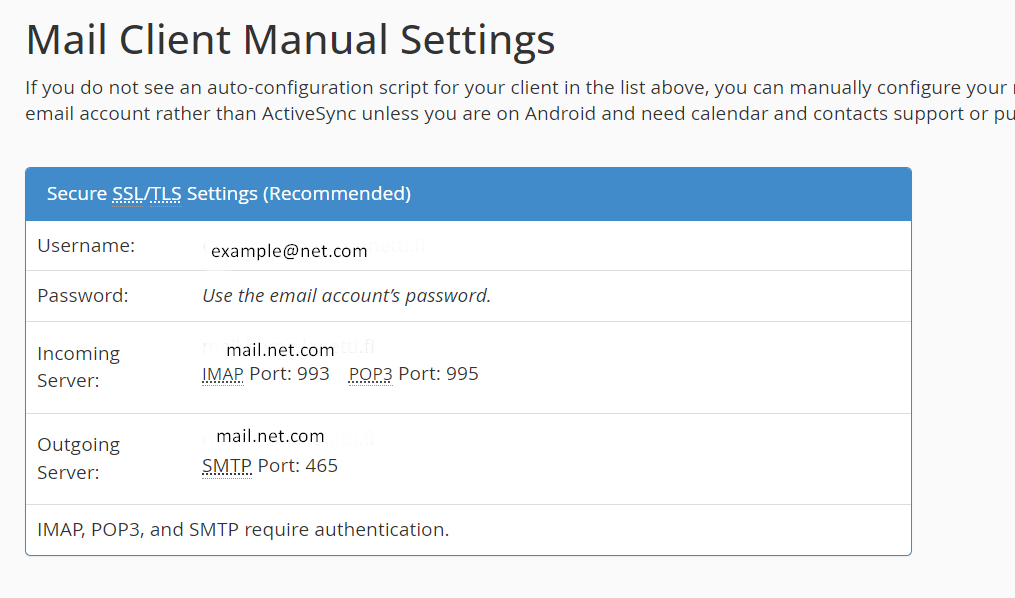
You’ll now see a list of configuration settings including:
-
Incoming server (IMAP/POP3)
-
Outgoing server (SMTP)
-
Recommended ports
-
SSL/TLS settings
Leave this page open so you can copy the info into Outlook.
Step 3: Enter Your Email in Outlook
- In Outlook, enter the full email address (e.g. info@yourdomain.com) and click Connect or Continue.
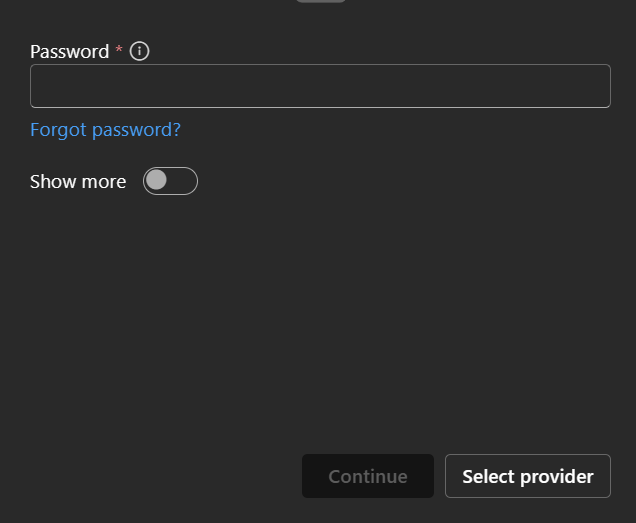
Step 4: Enter Your Email Password
- Type the password you created for this email account in cPanel and click Continue.
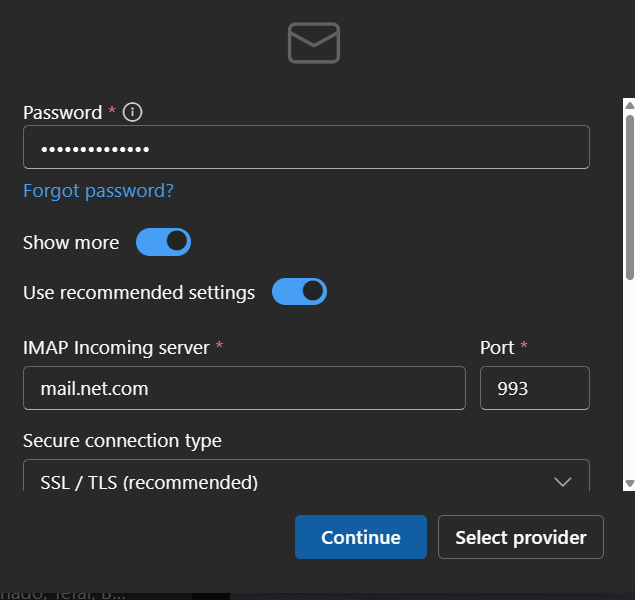
Step 5: Manual Setup (If Automatic Setup Fails)
If Outlook cannot find the settings automatically:
-
Click Advanced setup or Show more settings.
-
Choose IMAP or POP (IMAP is recommended for most users).
-
Enter the settings from cPanel’s Connect Devices page manually:
Incoming mail (IMAP):
-
Server: mail.yourdomain.com
-
Port: 993
-
Encryption: SSL/TLS
-
Username: full email address
-
Password: your email password
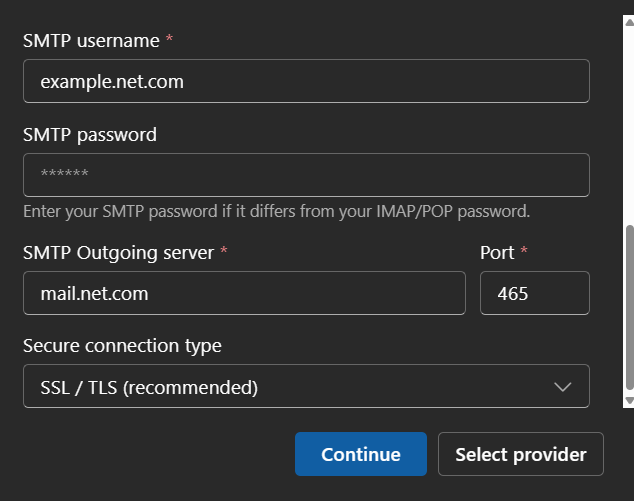
Outgoing mail (SMTP):
-
Server: mail.yourdomain.com
-
Port: 465 or 587
-
Encryption: SSL/TLS
-
Username: full email address
-
Password: your email password
4. Click Next and allow Outlook to verify the settings.
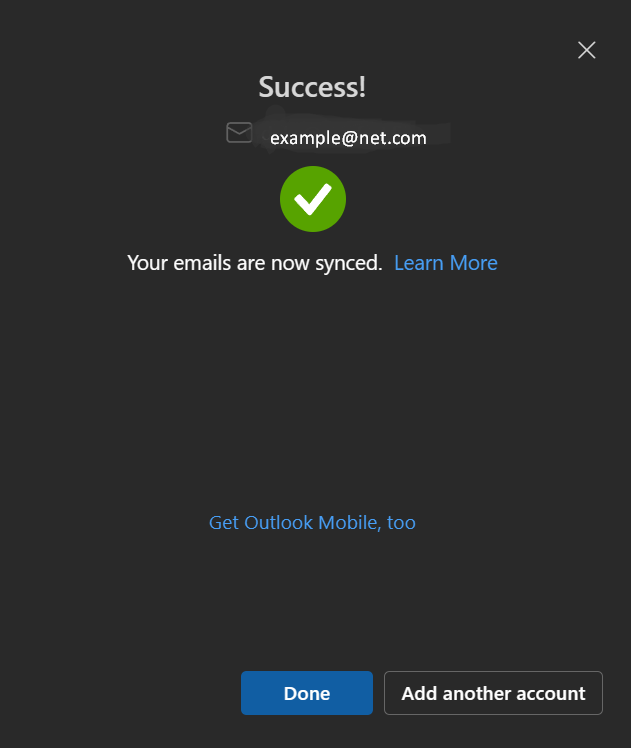
Step 6: Confirmation
- Once setup is successful, Outlook will display a message confirming the account has been added.
- You can now send and receive emails using Outlook.
Notes:
-
If you’re unsure about port numbers or encryption types, use the exact values shown in cPanel under Connect Devices.
-
Make sure your domain’s DNS records (especially MX and mail A-record) are properly configured for email delivery.
-
Outlook may display a security prompt the first time you connect — this is normal.


