Widgets allow you to add content and features to various areas of your WordPress site, such as the sidebar, footer, or other widget-ready sections. Note: If your WordPress version uses the block-based widget editor (introduced in version 5.8), the interface may look slightly different. However, the overall process of adding and configuring widgets remains similar.
Here’s a step-by-step guide to adding widgets in WordPress:
Step 1: Log into Your WordPress Dashboard
- Open your browser and go to your WordPress site’s login page.
- Log in with your username and password to access the dashboard.
Step 2: Navigate to the Widgets Section
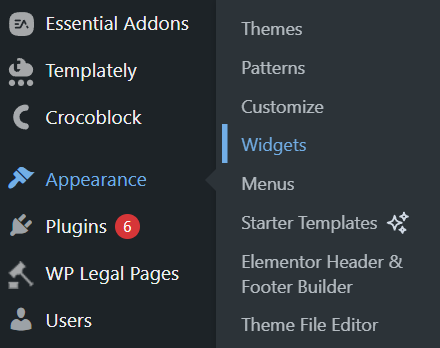
- In the WordPress dashboard, go to Appearance in the left-hand menu.
- Click on Widgets. This will take you to the Widgets area where you can manage and add new widgets.
Step 3: Choose the Widget Area
- On the Widgets page, you will see widget-ready areas such as the sidebar, footer, and sometimes other custom sections depending on your theme.
- Select the area where you want to add the widget by expanding the desired section.
Note: The available widget areas depend on your active WordPress theme. Some themes offer only a sidebar and footer, while others may include areas like header bars or homepage sections.
Step 4: Add a Widget
- On the left side of the screen, you will see a list of available widgets. These include options like Recent Posts, Search, Categories, and more.
- To add a widget:
- Simply drag the widget from the list and drop it into the widget area you selected.
- Alternatively, click on the widget, then select the desired widget area, and click Add Widget.
Step 5: Configure the Widget Settings
- Once the widget is added, you can configure its settings.
- Depending on the widget, you may be able to:
- Add a title.
- Set the number of posts to display (for post-related widgets).
- Customize other settings.
- After configuring, click Save to apply your changes.
Tip: Be sure to click Save after every change—otherwise your settings will not be applied.
Step 6: Preview the Changes
- To see how the widget looks on your site, go to the front end and navigate to the section where you added the widget (e.g., sidebar or footer).
- If you’re not satisfied with how it looks, return to the Widgets section to make further adjustments.
Step 7: Edit or Remove Widgets
- To edit a widget, click the down arrow next to the widget in the widget area to expand the options and adjust settings.
- To remove a widget, click Delete or drag it out of the widget area.
Tips:
- Some themes may come with additional widget areas, so explore those if needed.
- You can add multiple widgets to the same area and arrange them in the order you prefer by dragging them into position.


