What Is SSL and Why Do You Need It?
SSL (Secure Sockets Layer) — now more commonly referred to as TLS (Transport Layer Security) — is a security protocol that encrypts the communication between a web browser and a web server. Installing an SSL certificate on your website enables HTTPS, which:
-
Protects sensitive information such as login credentials, credit card numbers, and personal data.
-
Enhances your website’s credibility and trustworthiness.
-
Improves SEO rankings.
-
Displays a padlock icon in the browser address bar, signaling a secure connection to users.
This guide walks you through installing an SSL certificate in cPanel to secure your website traffic.
1. Log In to Your cPanel Account
-
Open your web browser and go to your cPanel login page (e.g., https://yourdomain.com/cpanel).
-
Enter your username and password.
-
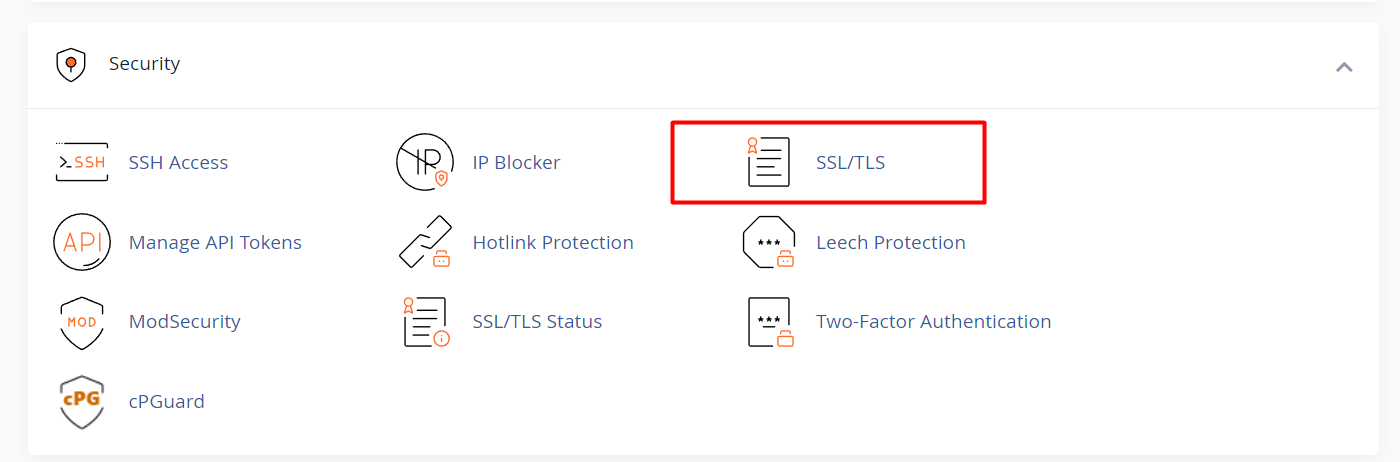
In the cPanel dashboard, scroll down to the Security section.
-
Click on SSL/TLS.
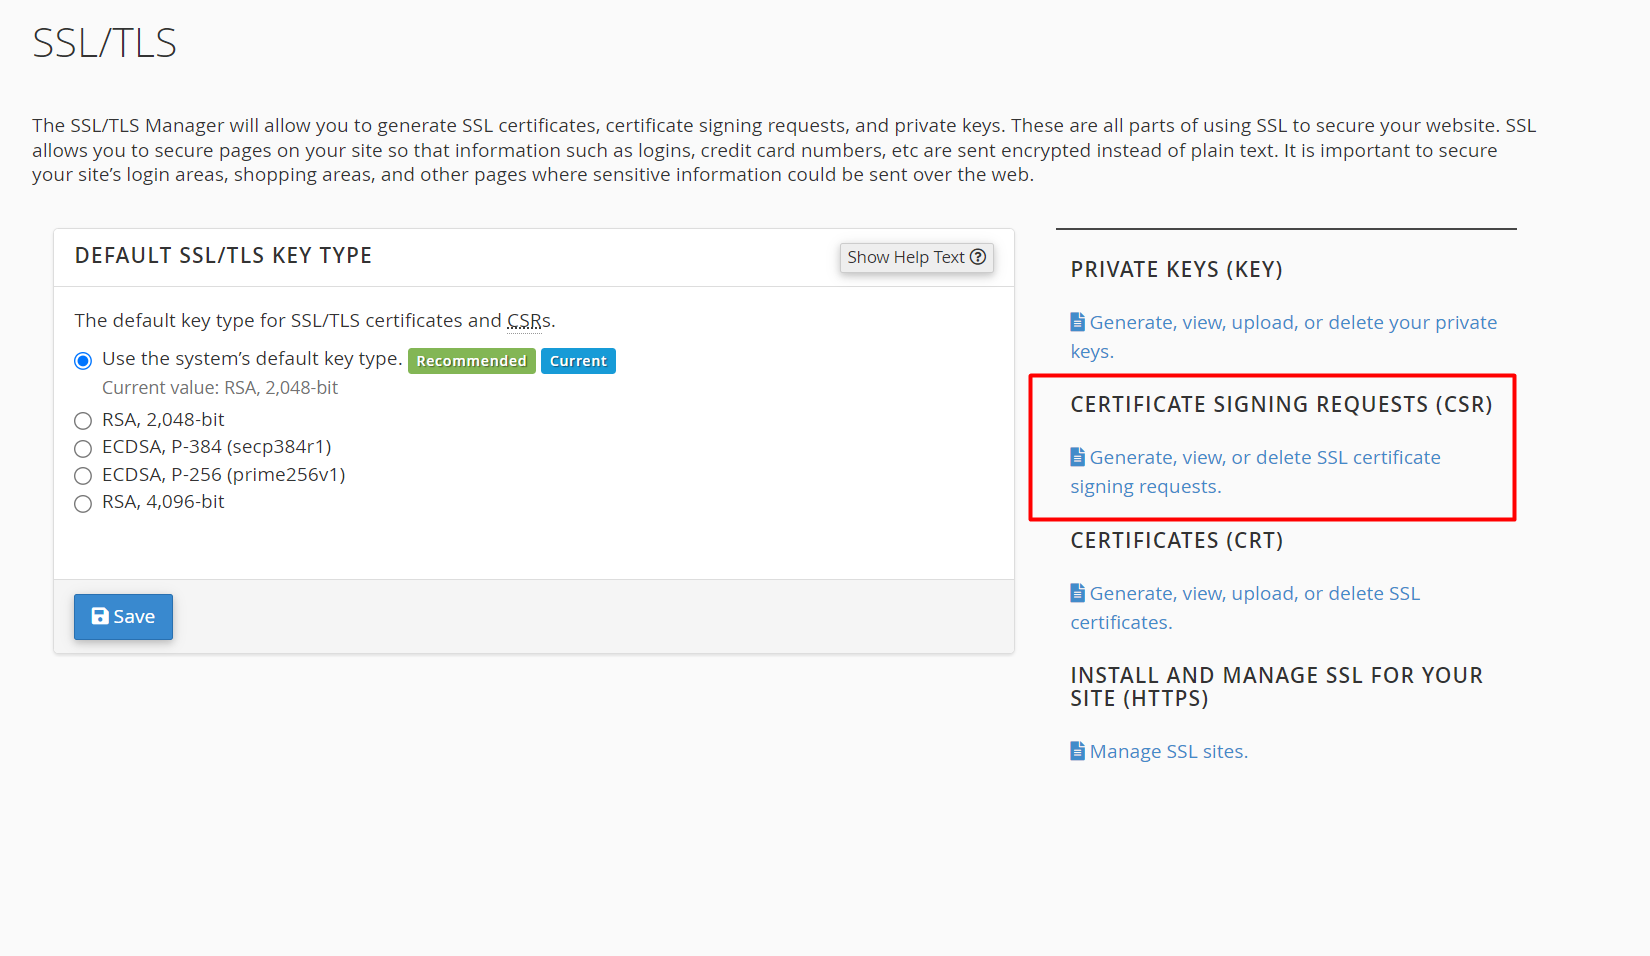
2. Generate a Certificate Signing Request (CSR)
Before purchasing or installing an SSL certificate, you must first generate a CSR.
-
In the SSL/TLS Manager, click on Generate, view, or delete SSL certificate signing requests.
-
Fill out the required details:
-
Domain name: The fully qualified domain name (FQDN) you want to secure.
-
Company: Your organization’s legal name, or your own name if it’s a personal site.
-
City: The city where your business or residence is located.
-
State/Province: Your state or region.
-
Country: The two-letter country code (e.g.,
USfor United States,FIfor Finland).
-
-
Click Generate.
-
A CSR code will be generated. Copy this code — you’ll need it to request an SSL certificate from a Certificate Authority (CA).
3. Purchase an SSL Certificate
-
Choose a trusted Certificate Authority (CA) such as Let’s Encrypt, Comodo, DigiCert, or any other provider.
-
During the purchase process, submit the CSR code you generated.
-
Once issued, the CA will provide you with the necessary certificate files — typically including:
-
A Certificate (CRT) file
-
A CA Bundle (CABUNDLE) file (sometimes optional)
-
These may be delivered as separate files or in a ZIP archive.
-
-
Download these files to your computer.
4. Install the SSL Certificate in cPanel
-
Return to the SSL/TLS section in cPanel.
-
Click on Manage SSL Sites under Install and Manage SSL for your site (HTTPS).
-
From the dropdown menu, select the domain where you want to install the certificate.
-
Paste the contents of your certificate files:
-
Certificate (CRT): Paste the content of the .crt file.
-
Certificate Authority Bundle (CABUNDLE): Paste the CA bundle if provided.
-
The Private Key field should auto-populate if the CSR was generated in cPanel. If not, paste the private key that was generated alongside the CSR.
-
-
Click Install Certificate to complete the installation.
5. Enforce HTTPS on Your Website
After installation, your website will be accessible via HTTPS. To make sure all traffic is redirected to the secure version:
Option 1: Use cPanel’s Force HTTPS Redirect
-
In cPanel, go to the Domains section.
-
Find your domain and enable the Force HTTPS Redirect toggle.
Option 2: Add Redirect in .htaccess (for Apache servers)
If you're using Apache, you can add the following lines to your .htaccess file in the public_html directory:
RewriteEngine On
RewriteCond %{HTTPS} off
RewriteRule ^(.*)$ https://%{HTTP_HOST}%{REQUEST_URI} [L,R=301]


