DNS (Domain Name System) -tietueiden hallinta cPanelissa antaa sinulle mahdollisuuden ohjata, miten verkkotunnuksesi yhdistyy verkkopalvelimiin, sähköpostipalveluihin ja muihin verkon palveluihin. Oikein määritetyt DNS-tietueet varmistavat, että sivustosi ja sähköpostit toimivat luotettavasti.
Tässä oppaassa käydään vaihe vaiheelta läpi, kuinka voit lisätä, muokata ja poistaa DNS-tietueita cPanelin Zone Editor -työkalulla.
1. Kirjaudu cPaneliin
-
Avaa selain ja siirry cPanel-kirjautumissivulle.
-
Syötä käyttäjätunnus ja salasana.
-
Klikkaa Kirjaudu sisään.
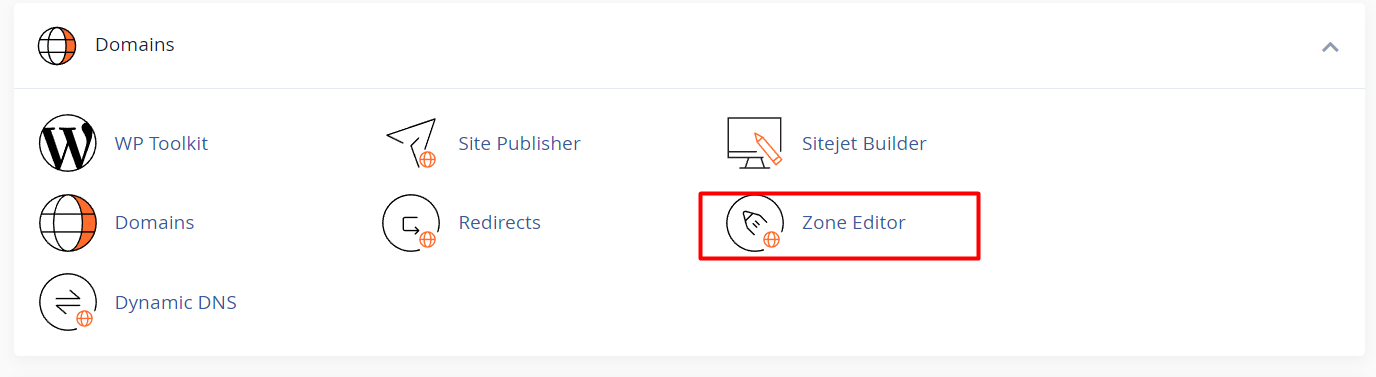
2. Avaa Zone Editor
-
Selaa cPanelin hallintapaneelissa alas kohtaan Domains.
-
Klikkaa Zone Editor.
-
Tämän työkalun avulla voit hallita kaikkien tilillesi liitettyjen verkkotunnusten DNS-tietueita.
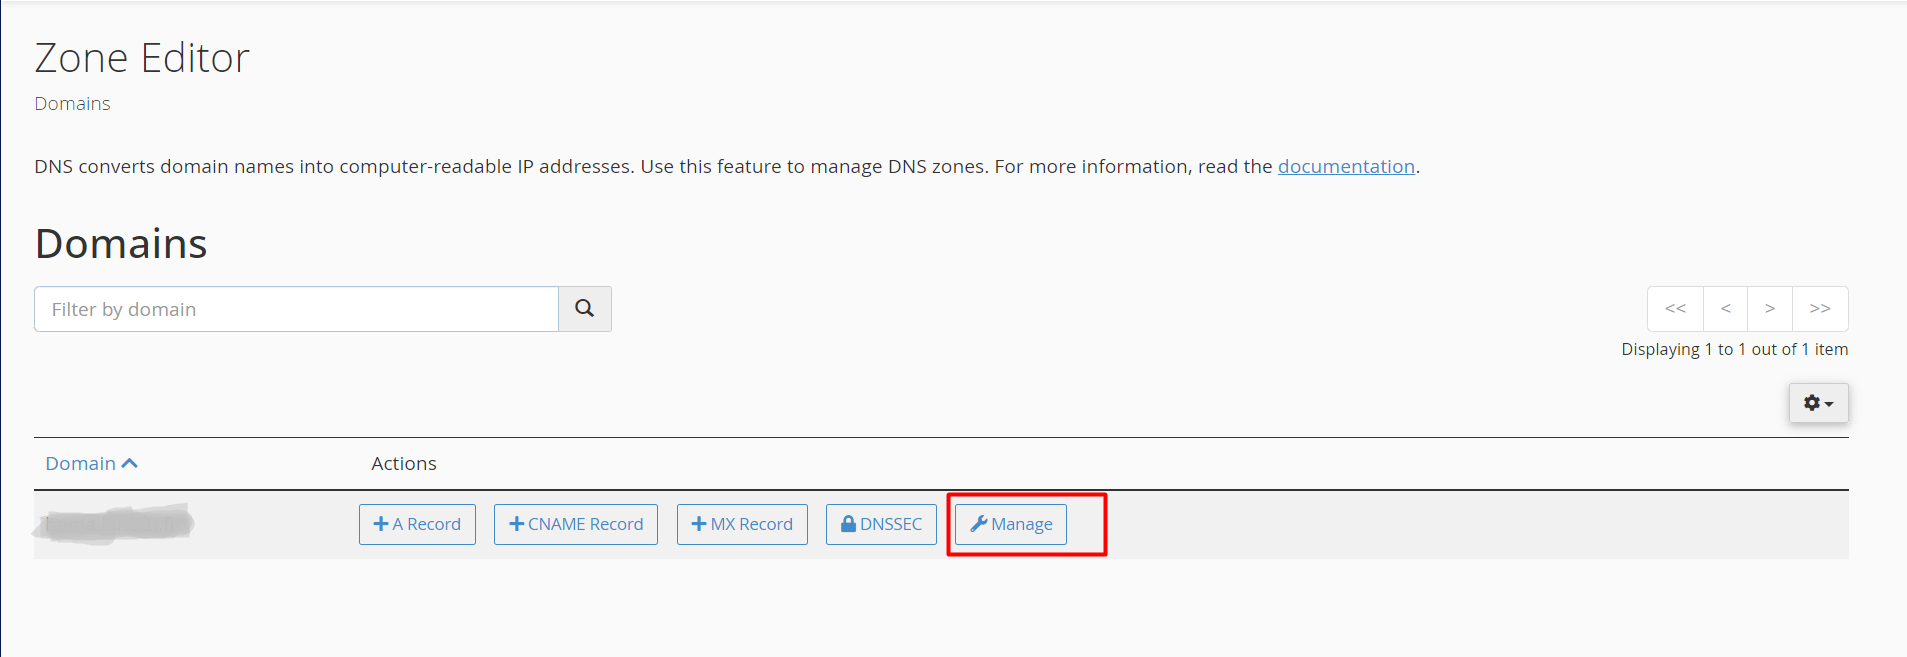
3. Valitse verkkotunnus
-
Näet luettelon verkkotunnuksistasi.
-
Klikkaa Manage sen verkkotunnuksen kohdalta, jota haluat muokata.
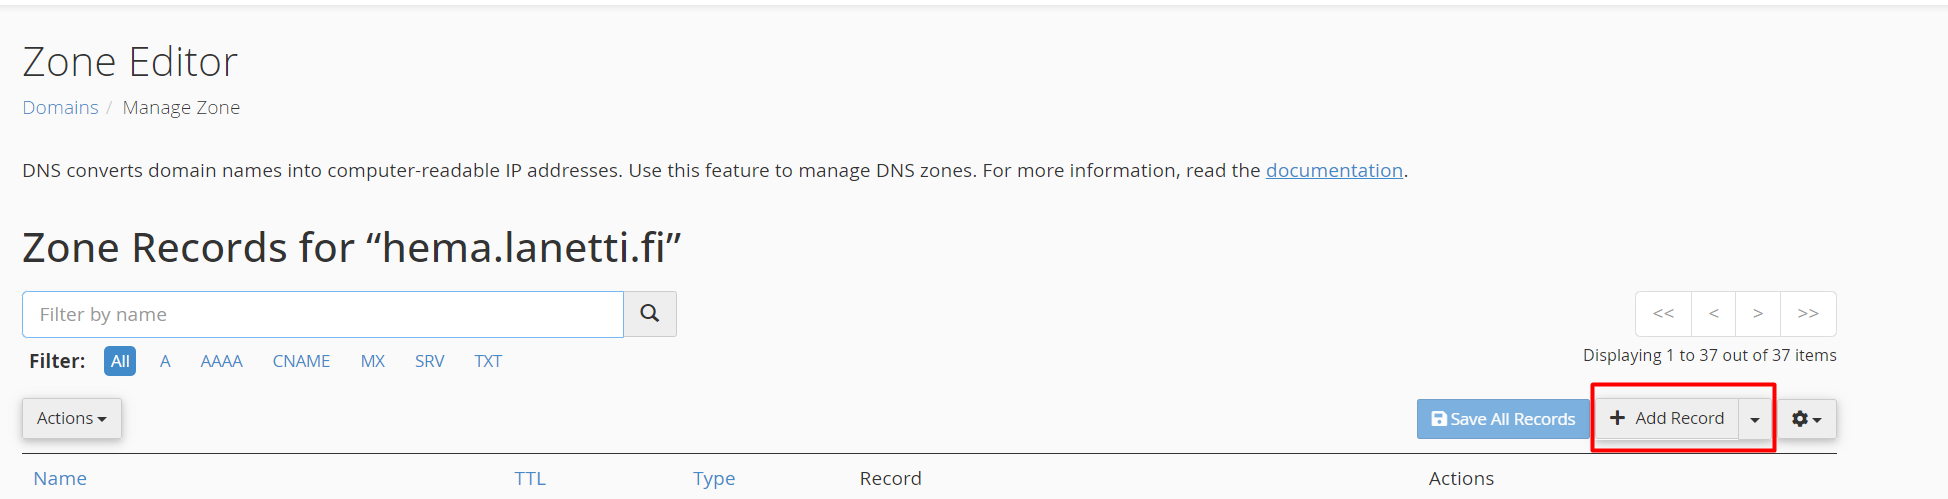
4. Tarkastele olemassa olevia DNS-tietueita
-
Näytölle ilmestyy luettelo DNS-tietueista, kuten:
-
A (osoitetietue)
-
CNAME (alias)
-
MX (sähköpostin reititys)
-
TXT (tekstitietue esim. varmennukseen)
-
Jokainen tietue sisältää nimen, tyypin ja kohdearvon.
DNS-tietueiden lisääminen, muokkaaminen ja poistaminen
Uuden DNS-tietueen lisääminen
-
Klikkaa + Add Record.
-
Valitse tietuetyyppi:
-
A Record: Kirjoita verkkotunnus tai aliverkkotunnus ja sen IP-osoite.
-
CNAME Record: Kirjoita aliverkkotunnus ja kohdealias.
-
MX Record: Aseta prioriteetti ja sähköpostipalvelimen nimi.
-
TXT Record: Kirjoita verkkotunnus ja tekstiarvo (esim. varmennukseen).
-
-
Klikkaa Save Record.
Olemassa olevan tietueen muokkaaminen
![]()
-
Etsi tietue, jota haluat muuttaa.
-
Klikkaa Edit.
-
Päivitä tarvittavat kentät (esim. IP-osoite tai kohdeosoite).
-
Klikkaa Save Record.
DNS-tietueen poistaminen
![]()
-
Etsi poistettava tietue.
-
Klikkaa Delete.
-
Vahvista poisto.
Yleisiä DNS-muokkauksia
A-tietueen päivittäminen
Jos siirrät sivustosi uudelle palvelimelle:
-
Etsi A-tietue verkkotunnuksellesi (yleensä @).
-
Klikkaa Edit.
-
Syötä uusi IP-osoite.
-
Klikkaa Save Record.
CNAME-tietueen lisääminen aliverkkotunnukselle
Jos haluat ohjata esimerkiksi blogi.minundomain.fi toiseen osoitteeseen:
-
Lisää uusi CNAME-tietue
-
Nimi: blogi
-
Kohde: esim. esimerkki.fi
-
Klikkaa Save Record.
MX-tietueiden määrittäminen sähköpostipalvelua varten
-
Poista vanhat MX-tietueet tarvittaessa.
-
Lisää uusi MX-tietue.
-
Syötä prioriteetti (pienempi luku = suurempi prioriteetti).
-
Syötä sähköpostipalvelimen nimi.
-
Klikkaa Save Record.
Vinkkejä ja parhaita käytäntöjä
DNS-propagointi
DNS-muutokset eivät päivity heti. Muutosten voimaantulo voi kestää jopa 24–48 tuntia, koska eri DNS-palvelimet välimuistittavat tietueet.
Varmuuskopioi tietueet ennen muutoksia
Ota kuvakaappaus tai kirjaa ylös nykyiset tietueet ennen muokkaamista. Näin voit tarvittaessa palauttaa asetukset.
TTL-arvon säätäminen
TTL (Time to Live) määrittää, kuinka kauan DNS-tietue tallennetaan välimuistiin:
-
Matala TTL (esim. 300 sekuntia) nopeuttaa muutosten voimaantuloa, mutta lisää kyselyliikennettä.
-
Korkea TTL (esim. 14400 sekuntia eli 4 tuntia) vähentää liikennettä mutta hidastaa propagointia.
-
Yleinen oletusarvo on 14400 sekuntia.


